

You can never have enough candles! There are endless scents for every season and they can be customized for nearly every occasion. There’s something truly amazing about creating your own candles, from choosing the perfect wax to selecting a complimentary wick. But with all there is to consider during the candle-making process, there are an equal number of difficulties that may arise.
In this blog post, I’ll be sharing five candle making tips and tricks for beginners that I wish I knew when I started candle making. Whether you’re drawn to the idea of sharing homemade candles as gifts or decorating your home with the cozy ambiance of your own handcrafted candles, I’m hoping this list will help to make your candle-making journey both smooth and enjoyable.
1) Gather Quality Materials
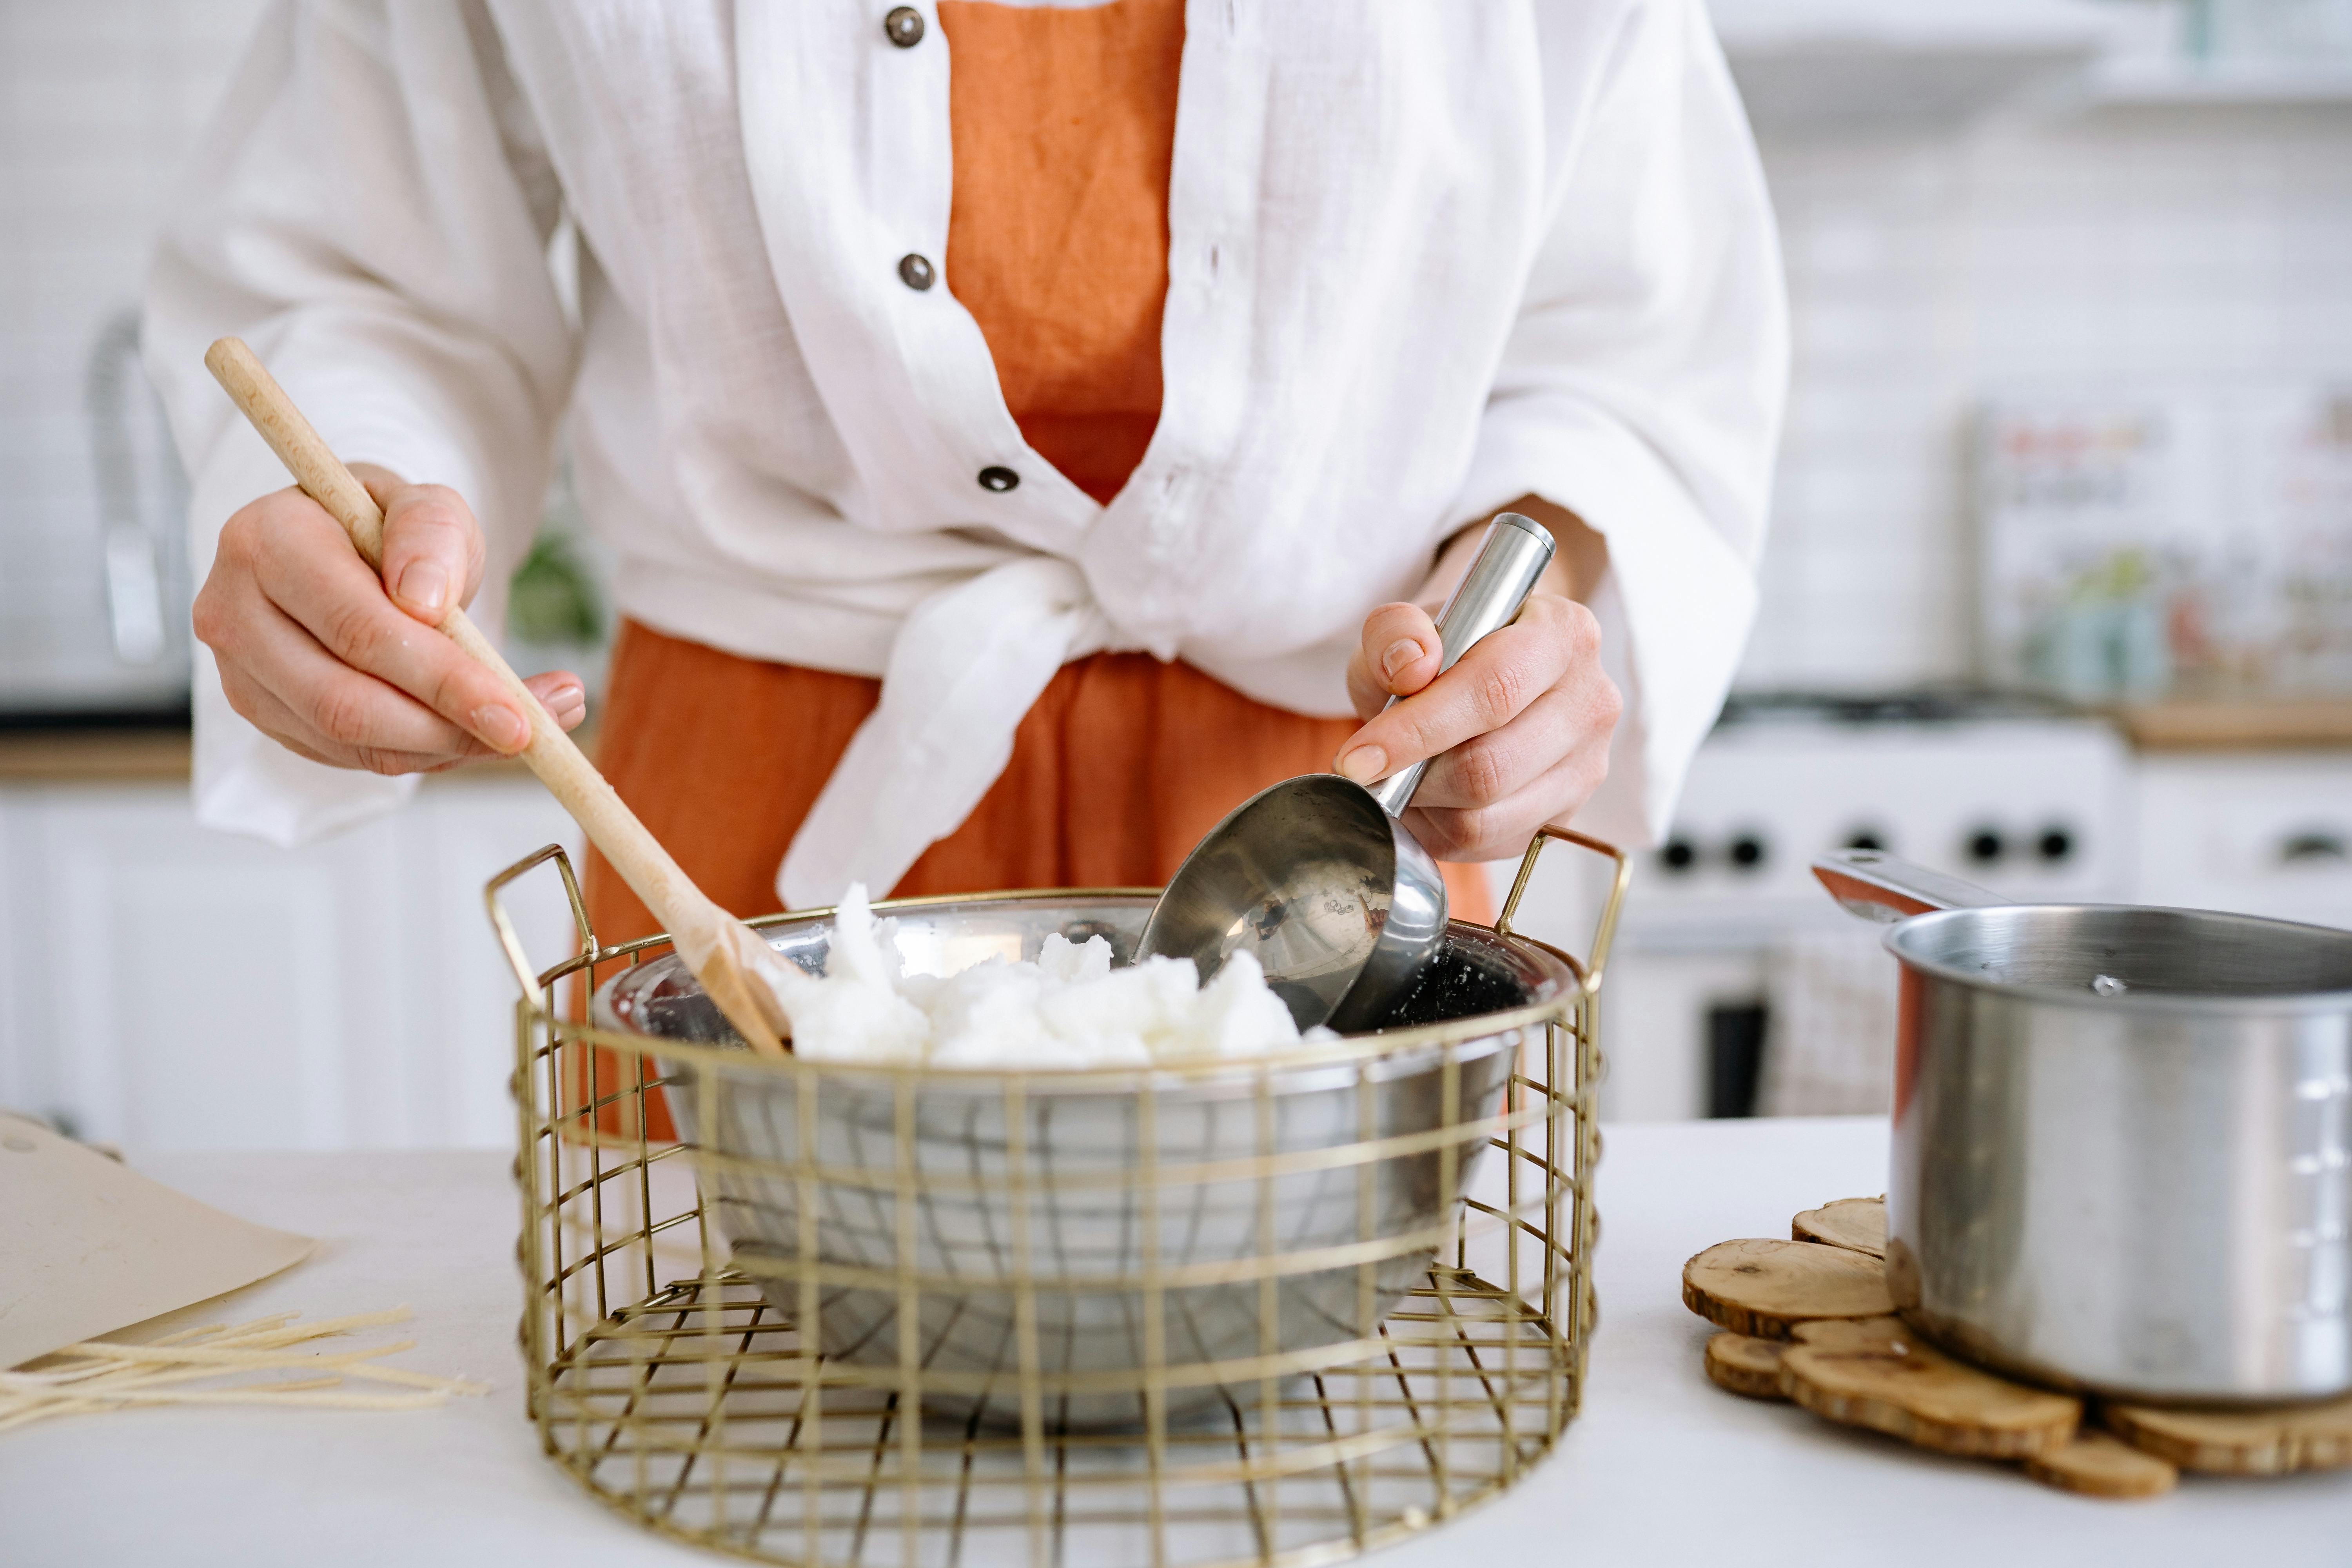
Like most hobbies, the initial investing in tools and materials can rack up quite easily. With candle making there’s wax, fragrance oils, containers, wicks, dyes, melting pots, thermometers, scales, and the list goes on. It may be tempting to go with the cheapest wax and fragrance oils you can find, but there are several reasons why investing in more quality products can save you from headaches, literally.
You may be able to do some digging and find quality materials at an affordable price, however, if you go with cheap wax you’ll run into issues of wax inconsistencies when it comes time to pour. You’ll only realize after slaving away to create your candle that the wax didn’t hold the scent as you thought it would or that the wax didn’t cure properly in your vessel. Even worse, if using cheap wax to create batches of candles, you’ll likely find yourself with multiple inconsistent results.
Golden Brands’ 464 Soy Wax or 444 Soy Wax are good waxes to start with for beginners as they’re softer and easier to work. Hearth & Harbors 100% Premium Soy Wax is another affordable option that I’ve personally used. Although you can use essential oils as fragrance for your candles, it may take a lot of trial and error before you can get the perfect scent throw. Start with candle-specific fragrance oils like Candlescience’s tried and true scents.
2) Properly Pick & Prep Your Container
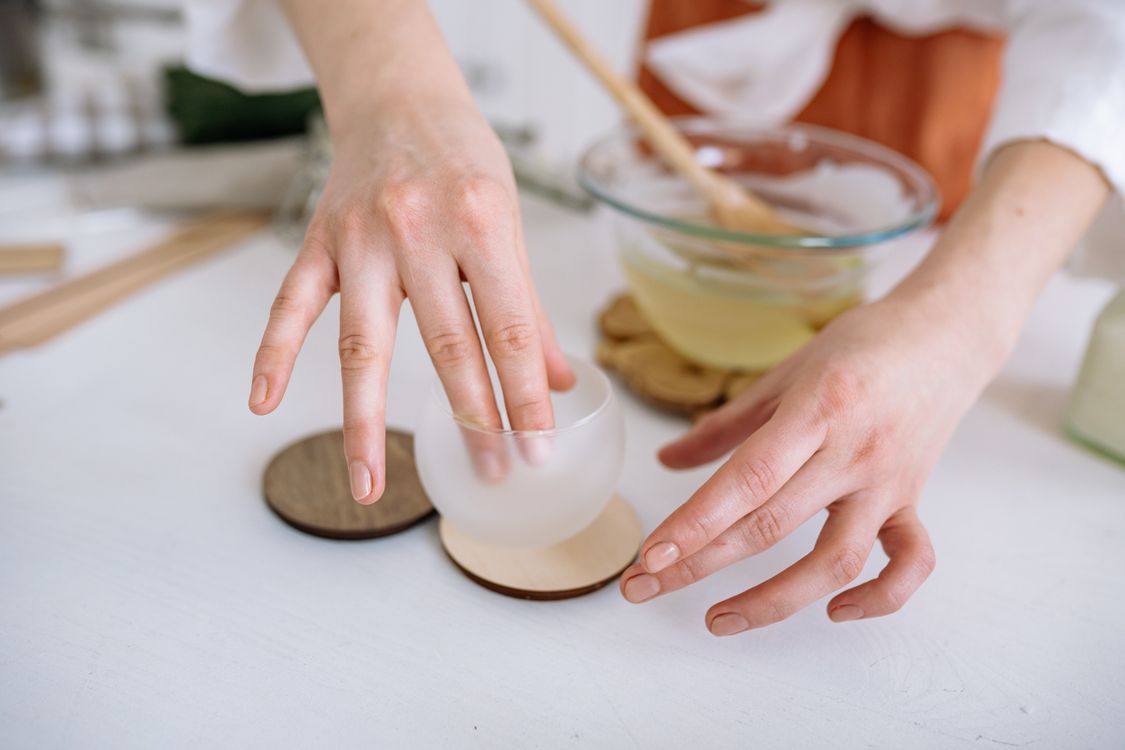
Just as there are countless waxes and fragrance combinations to choose from, selecting a container can be a task all of its own. Note that not all glass containers can tolerate the heat of melted wax, so be cautious when choosing one for your candle-making projects.
Once you’ve chosen your container, be sure to thoroughly clean it out. Debris and other oils can interfere with the curing of your wax, so be sure to take the time and don’t skip this step.
Additionally, to avoid a common issue that can occur with glass containers after pouring your wax called “pull away”, you can heat your container with a heat gun right before pouring your melted wax into it. Pull away often occurs when the warmed wax comes in contact with a cooled surface, so warming up your container slightly can help reduce this from happening.
3) Take Notes & Learn from Mistakes

Anyone who says they were a candle making pro from their first candle would be lying. The truth is it takes a lot of experimenting to find your candle making groove, so to speak. It really is a mix of art and science that requires patience and really good note taking. There are so many factors that can weigh in on the result of your candle, so getting into the habit of tracking not only your materials, but your environment and process will come in handy as you master this craft.
Here are some of the elements you should record as you’re making candles: wax type and weight, container type and diameter, wick type and size, melting and pouring temperature, fragrance load, dye type and amount.
To make things even easier, you can download my Candle Making Log Sheet to use during your candle making and testing process to keep track and learn over time.
4) Smoothing Out Imperfections
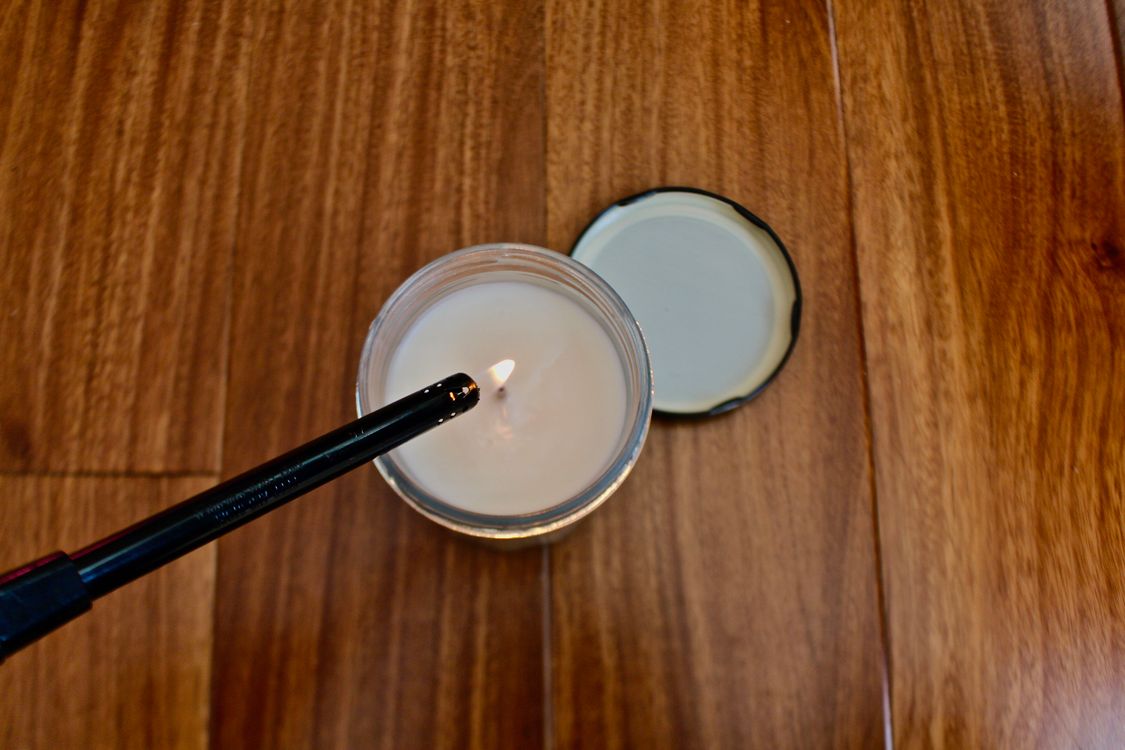
So you’ve poured your first candle, left it to cure, and have come back to find an uneven cracked layer has settled on the top of your candle. Bummer! There is a fix for this and it’s quite simple. The beauty of working with wax is that it can be melted and manipulated at any point. Essentially, you’ll want to heat the top of your candle until the wax is lightly melted. You can accomplish this by taking a long lighter or a heat gun on very low to the top of your candle until it becomes glossy. Once all of the imperfections are glossed, the wax will cure again and you’ll be greeted with a perfectly flat candle!
5) Testing Combined Scents Before Pouring
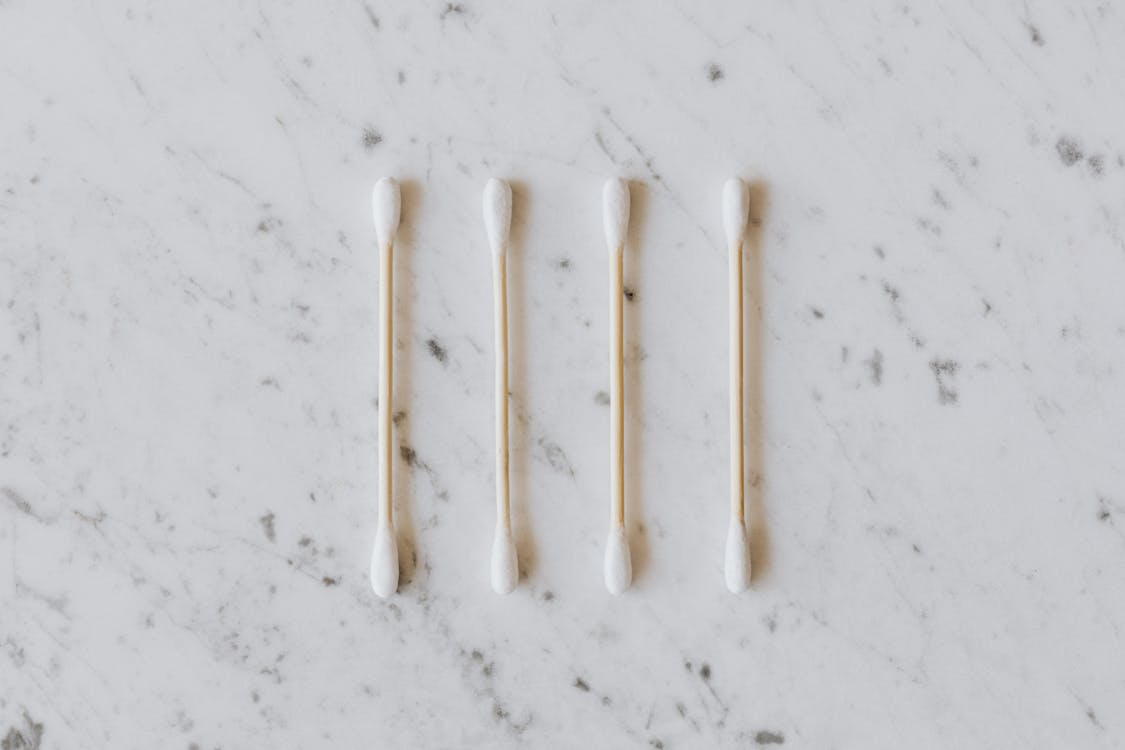
If you find yourself struggling to figure out which fragrance oils to use in your candle to create your own unique scent, here’s a quick trick. You can use two cotton swabs, one for each scent, and swab each oil. Once swabbed, put them together in an airtight container. This can be a sealable plastic bag or similar. Let them sit in the container for about 10-minutes. Once you open your container, you’ll be able to get a better sense of what the combined scent will be. You can add additional cotton swabs of a particular scent if you’re not looking to combine them one-to-one.
Bonus Tip: Sticking Tricky Cotton Wicks
Since you can’t always stick your hand into the container or jar you’re using and cotton wicks don’t stand on their own, placing your wick in your vessel can be awkward. Here’s a useful trick for sticking cotton wicks into small, yet tall, containers.
You can make a cotton wick sturdy by feeding it through a plastic straw that way you can apply pressure. Once through, apply your glue dot or drop of hot glue to the bottom of your wick, then press your wick down into your container or jar. Once your wick is in the proper position, just pull the straw clean off. Voila!
Final Thoughts
Now that you’ve taken the step to dive into the world of candle making, you’ll find that there is so much to try and uncover. Crafting your own candles offers a creative outlet of self expression allowing you personalize everything from scent to design. However, navigating the ins-and-outs of this craft doesn’t come without its challenges. From sourcing quality materials to mastering the art of scent blending, we’ve explored some tips and tricks for beginners to help level out the learning curve and get you on the road to candle making success. I encourage you to implement these techniques and embrace the learning process.
Need help calculating how much wax or fragrance you need for your candles? Try my Candle Wax & Fragrance Load Calculator.


