
Laser engraving a mirror already gives you a clean, high-contrast result, but if you want your design to stand out, finding ways to add color to a laser engraved mirror is where things get fun.
After laser engraving a mirror, you’ve essentially removed the reflective coating on the back. The now exposed glass gives you several opportunities to enhance the final look and make your engraving really unique.
Here are three fun and easy ways to add color to a laser engraved mirror to make it pop.
1. Add Acrylic Paint to the Back of the Engraving

One of the simplest ways to add color to a laser engraved mirror is by applying acrylic paint directly to the engraved areas on the back.
Because the engraving removes the mirror’s backing and coating, paint fills in those now empty areas and becomes visible from the front once the mirror is flipped back over.
How This Works
- Flip the mirror so the engraved side is facing up
- Paint over the engraved design with acrylic paint or use paint markers
- Let it dry
- Gently wipe away excess paint from surrounding areas if needed
- When viewed from the front, the engraved image or text appears crisp with a bold pop of color behind it.
Tips for Best Results
- Use acrylic paint—it adheres well and dries quickly
- Apply paint with a paint brush or sponge to get an even fill for large designs
- Light colors show through best
This method is great for logos, text, and simple graphics where you want clean, solid color.
2. Use a Colored Backing to Show Through the Engraving

If you want a removable or less permanent option, adding a colored backing behind the mirror is a great alternative.
Instead of filling the engraved areas with paint, you allow color from the backing to shine through the clear glass instead.
Materials That Work Well
- Cardstock or poster board
- Painted MDF or wood
- Adhesive vinyl
If the mirror you’ve purchased to engrave already has a frame with a backing, you can choose to paint or add vinyl to the backing it already comes with and assemble once done.
Alternatively, you can creating your frame and backing and adhere it to your mirror.
Why This Method Is Useful
- Easy to swap colors without repainting
- Great for seasonal or branded displays
- Works especially well for framed mirrors
This approach is ideal if you’re experimenting with color or creating display pieces that may change over time.
3. Add LEDs for a Backlit Glow Effect
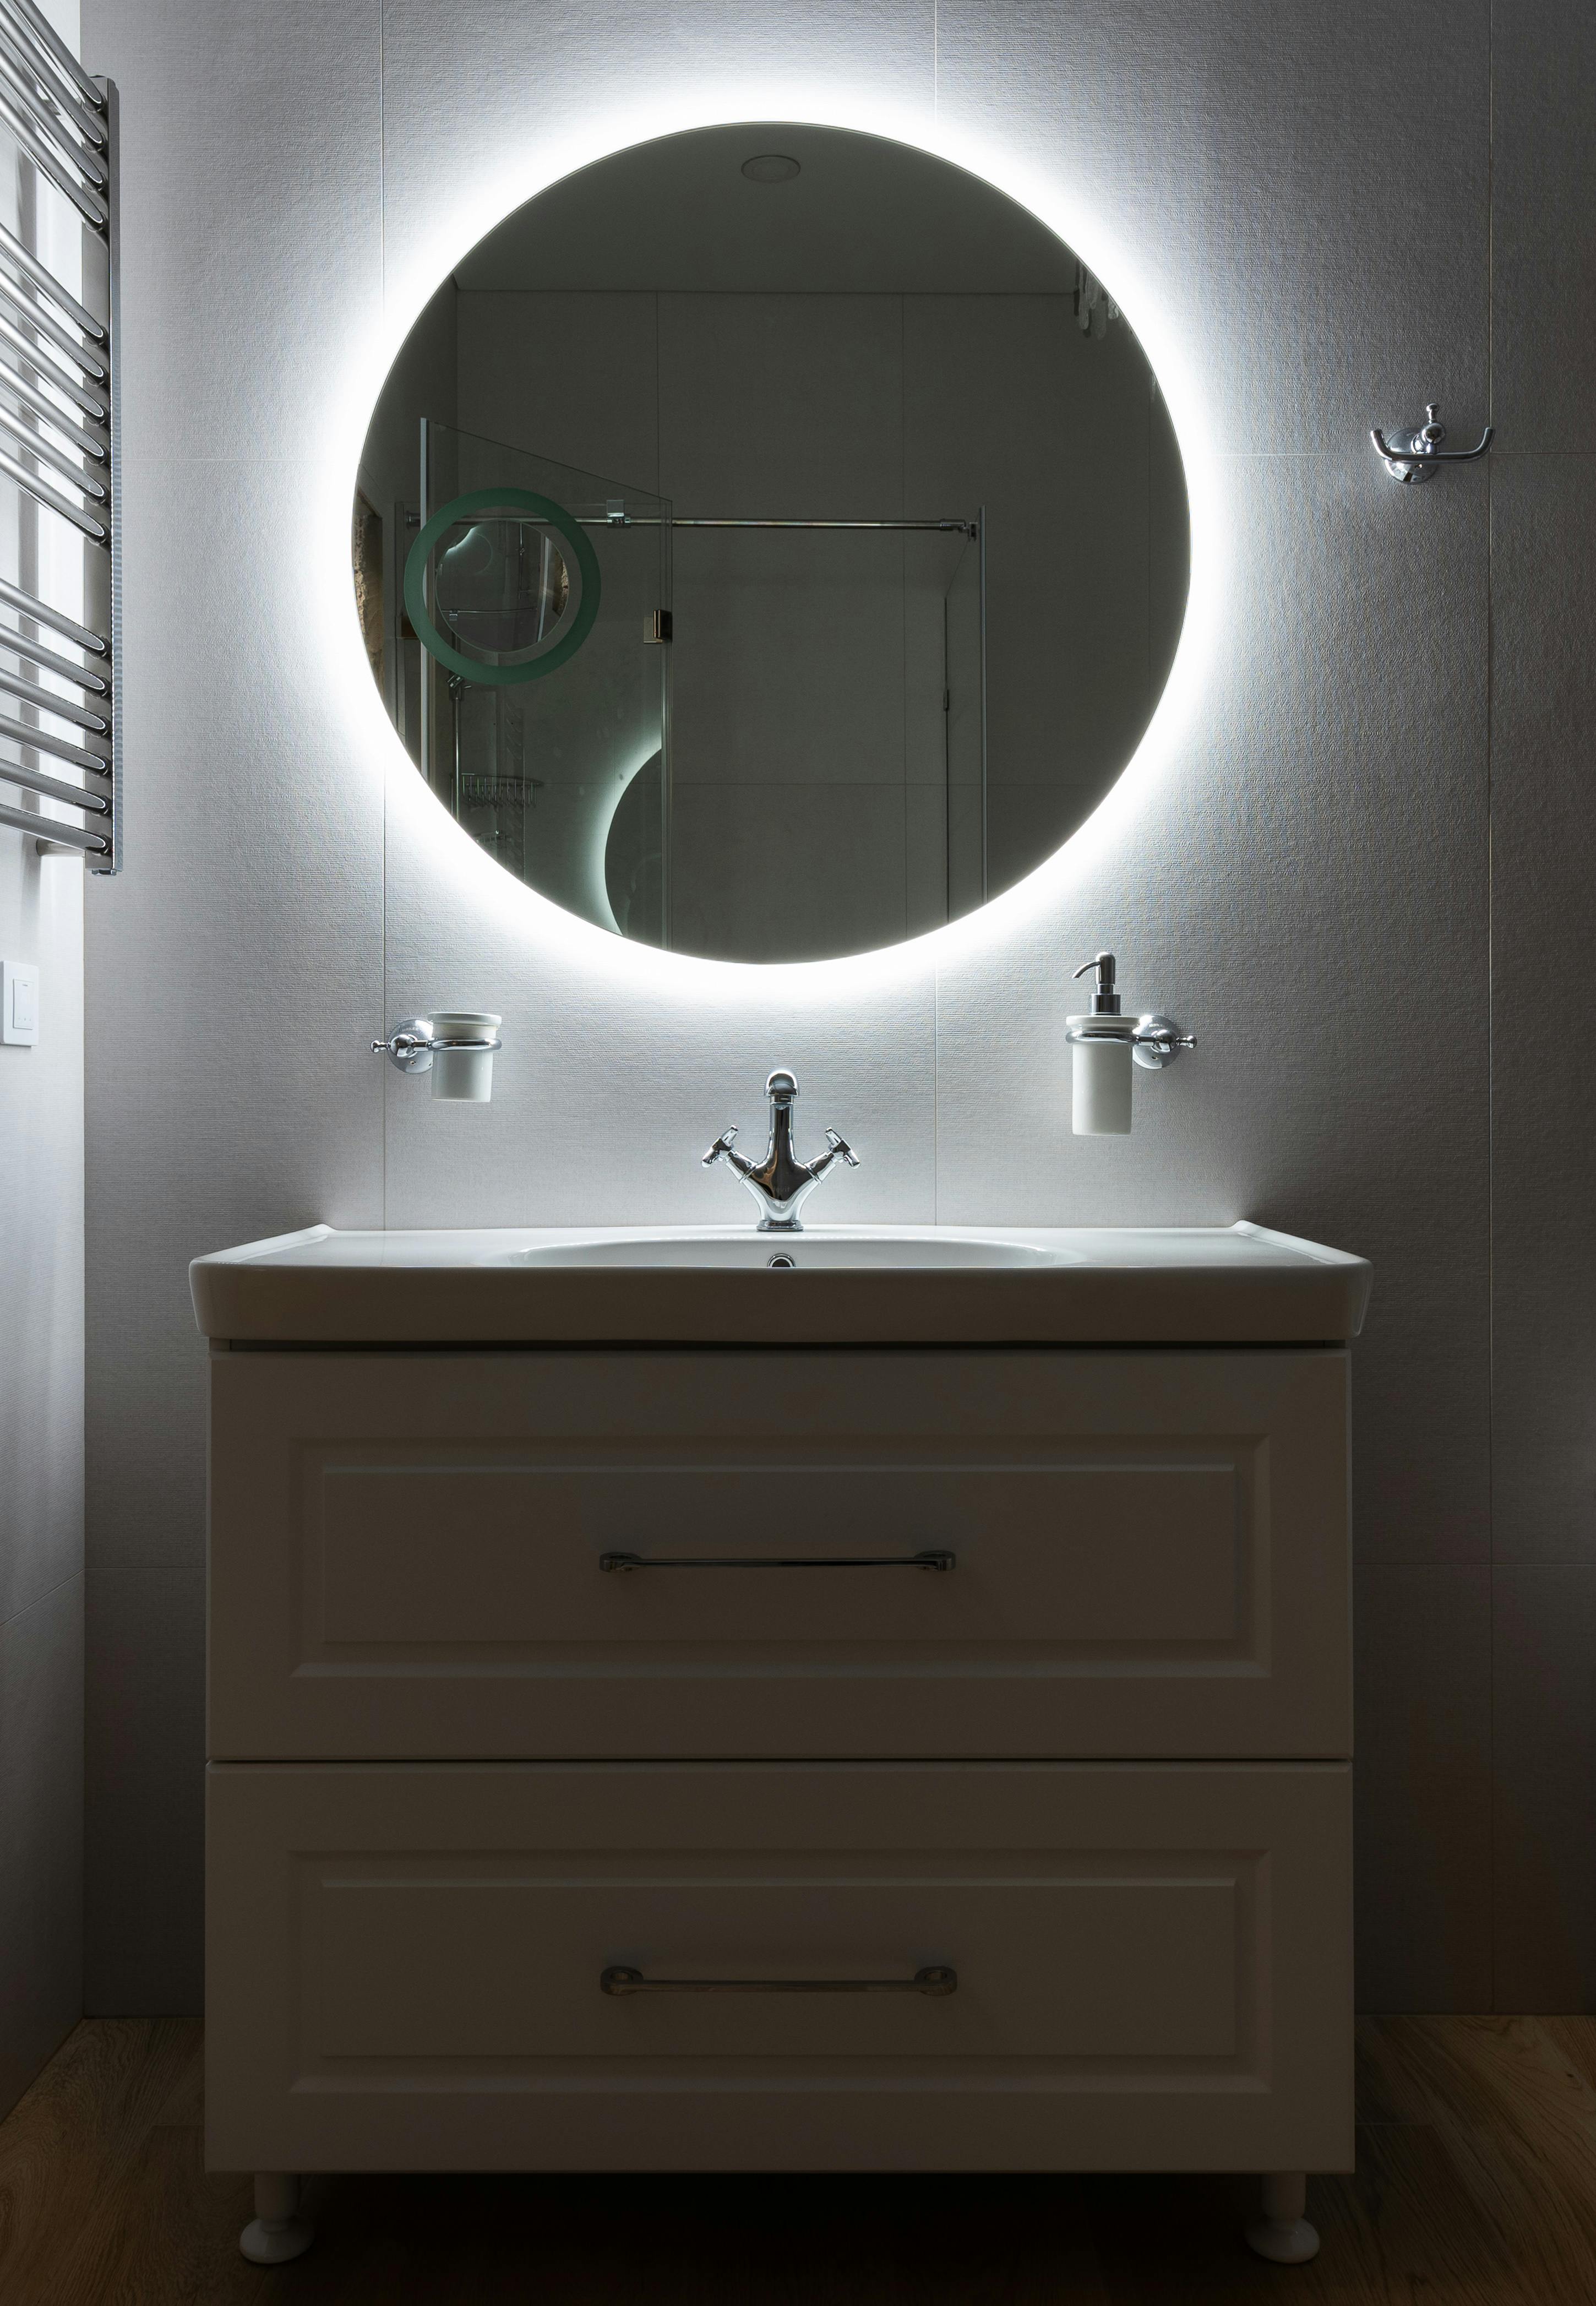
For a true wow-factor and skill-building way to add color to a laser engraved mirror, you can add LEDs. Adding LEDs behind your laser engraved mirror creates an illuminated effect and looks awesome.
How to Do It
- Create a boxed frame for your mirror
- Use LED strip lights
- Mount them along the inside edge your boxed frame pointing inward
For circle-shaped mirrors you can also add a thin circle-shaped wooden backer, which you can then adhere the strip lights to both inside and outside, making the entire mirror glow.
Best Use Cases
- Bathroom or vanity mirrors
- Night-time accent lighting
- Retail or restaurant installations
For a truly unique experience, you can even add color changing RGB LEDs, so your mirror changes with your mood.
Final Thoughts
Once you’ve laser engraved a mirror, adding color is an easy way to elevate the finished piece. Whether you choose paint, a backing material, or lighting, each option offers a different look. You can even combine techniques for more creative results.
If you’re just getting started, acrylic paint is the fastest way to see results. If you want flexibility, try a colored backing. And if you’re looking to impress, LEDs are hard to beat.
Have fun experimenting, and don’t forget to test your setup on a small mirror first before committing to a final piece.
Want to try laser engraving your own glass mirror? Here’s a how-to guide that walks you through it.


